OSX Jupyter Launcher
Published:
If you use Jupyter on a regular basis, the steps to launch a notebook are probably second nature, but if you take a step back, it involves a lot of prior knowledge. A few times I’ve tried to bring brand new eager programmers into the glorious land of Python and Jupyter, but each time I found that the whole flow was really bogged down by this preamble that is pretty technical. I’ll give them an .ipynb file and then show them how to open it
- Open Terminal (What’s Terminal? It looks scary.)
- Use
cdto navigate to where you want. - Now run this special command… and finally you are in the user-friendly land of Jupyter.
Now of course all of these skills are useful, and necessary eventually, but it really bogs down the first lesson in minutia and inevitably leaves the student feeling a bit overwhelmed. There must be a better way! One solution is to set your student up with Jupyter Hub. They’ll just need to click a link and they’ll be up and running in no time! This is a great solution for a lot of cases, but it requires the instructor to set up a server and the student to have internet access, so this doesn’t fit all cases. “Why can’t I just double-click the notebook?” the student will ask (or be too embarrassed to ask). Well… um… why can’t you? Now you can. Here’s how.
Download me! and double-click to unpack and drag to Applications or where ever you want to keep it.
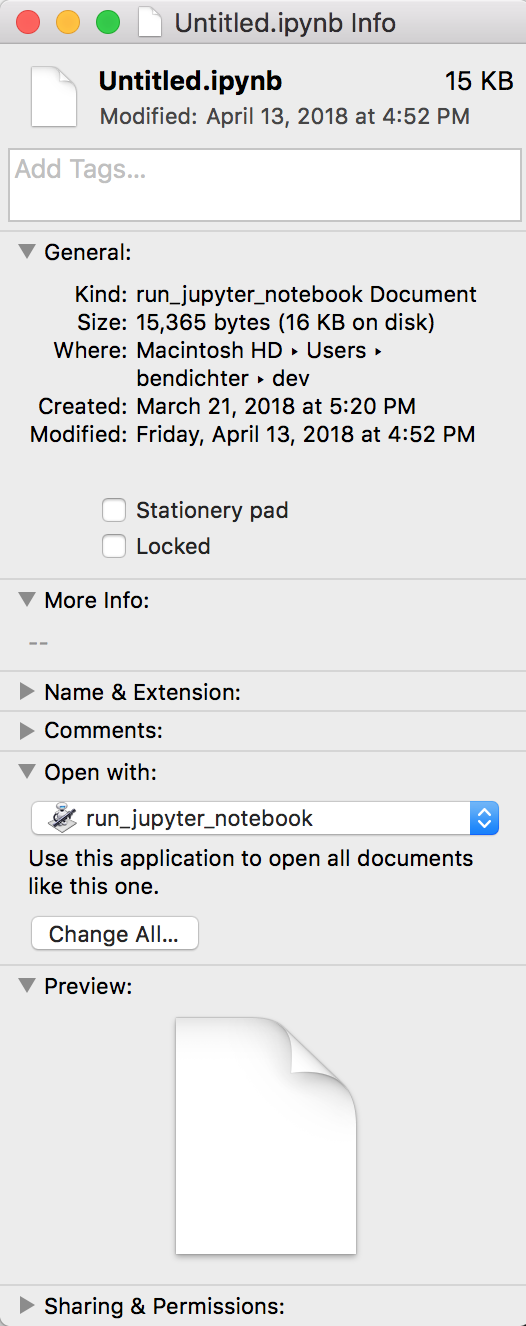
Navigate to a notebook in Finder, right-click and choose “Get Info”, then expand “Open with:” choose “Other…” from the dropdown menu. Now navigate to and select run_jupyter_notebook. Now select “Change All…”

Now you can double-click your notebooks to start them!
Caveats
- This only works on Macs right now (sorry Windows. Linux users, y’all chose this life.)
- Every time you double-click, it opens a new Terminal window.
- This won’t run a notebook in a virtual or conda environment.
You can still open notebooks the normal way if you need to have more control over how the notebook is launched.
